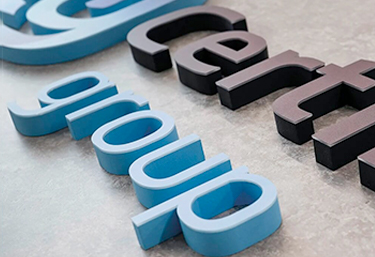

How to install 3D acrylic letters?
Before initiating the installation, conduct a thorough site assessment. Ensure that the chosen location is suitable for displaying 3D acrylic letters, considering factors such as visibility, lighting conditions, and aesthetic harmony with the surroundings.
Prepare the installation surface by cleaning it thoroughly. Remove any dirt, dust, or debris that might hinder the adherence of the letters. For optimal results, ensure that the surface is smooth and free of imperfections.
Carefully plan the positioning and alignment of the 3D acrylic letters. This step is crucial in achieving a visually appealing and balanced display. You can use measuring tools, such as a level, to ensure accurate alignment. Additionally, mark the positions lightly with a pencil for reference.
Apply a high-quality adhesive suitable for acrylic surfaces. Ensure even coverage on both the back of the letters and the installation surface. Take caution to avoid excess adhesive that might seep out from the edges.
Gently press the 3D acrylic letters onto the adhesive-covered surface, aligning them with the marked positions. Apply consistent pressure to ensure a secure bond. If the letters come with built-in mounting hardware, follow the manufacturer’s guidelines for proper installation.
Allow sufficient time for the adhesive to cure and bond effectively. This duration may vary based on the adhesive type and environmental conditions. Avoid subjecting the letters to stress or external forces during this curing period.
Once the adhesive has cured, perform a final inspection of the installed 3D acrylic letters. Check for alignment, stability, and overall visual appeal. Make any necessary adjustments to ensure a polished and professional presentation.
In some cases, professional installation services may be advisable, especially for larger or more intricate displays. Consult with experts if you have concerns about the installation process or if you’re working with specialized lettering configurations.